-40%
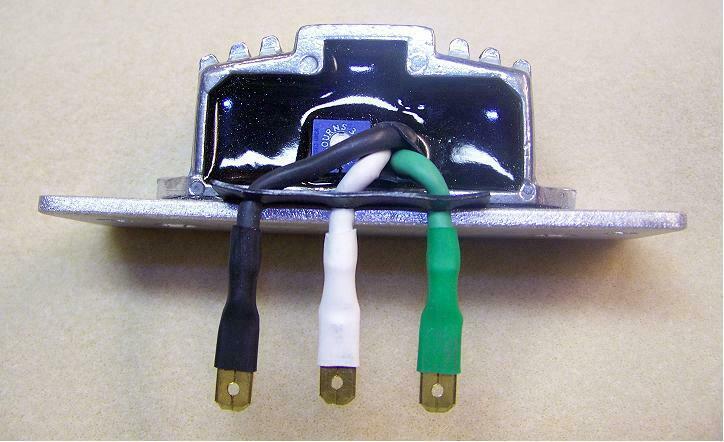
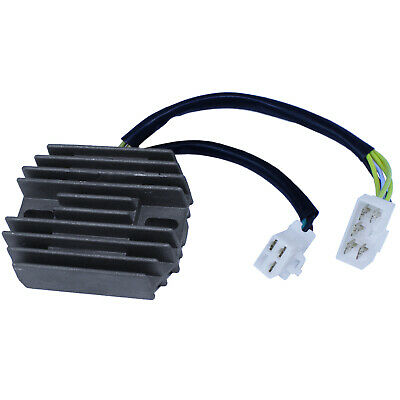
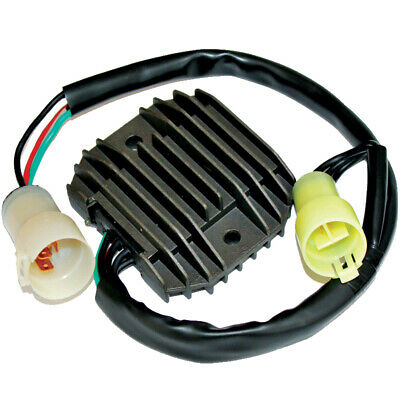
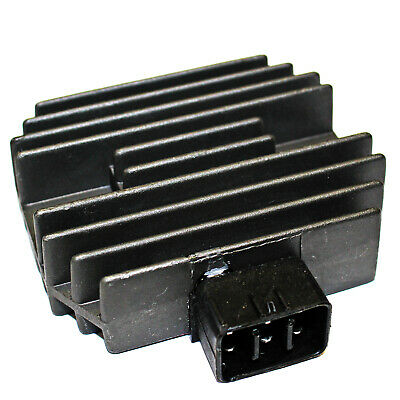
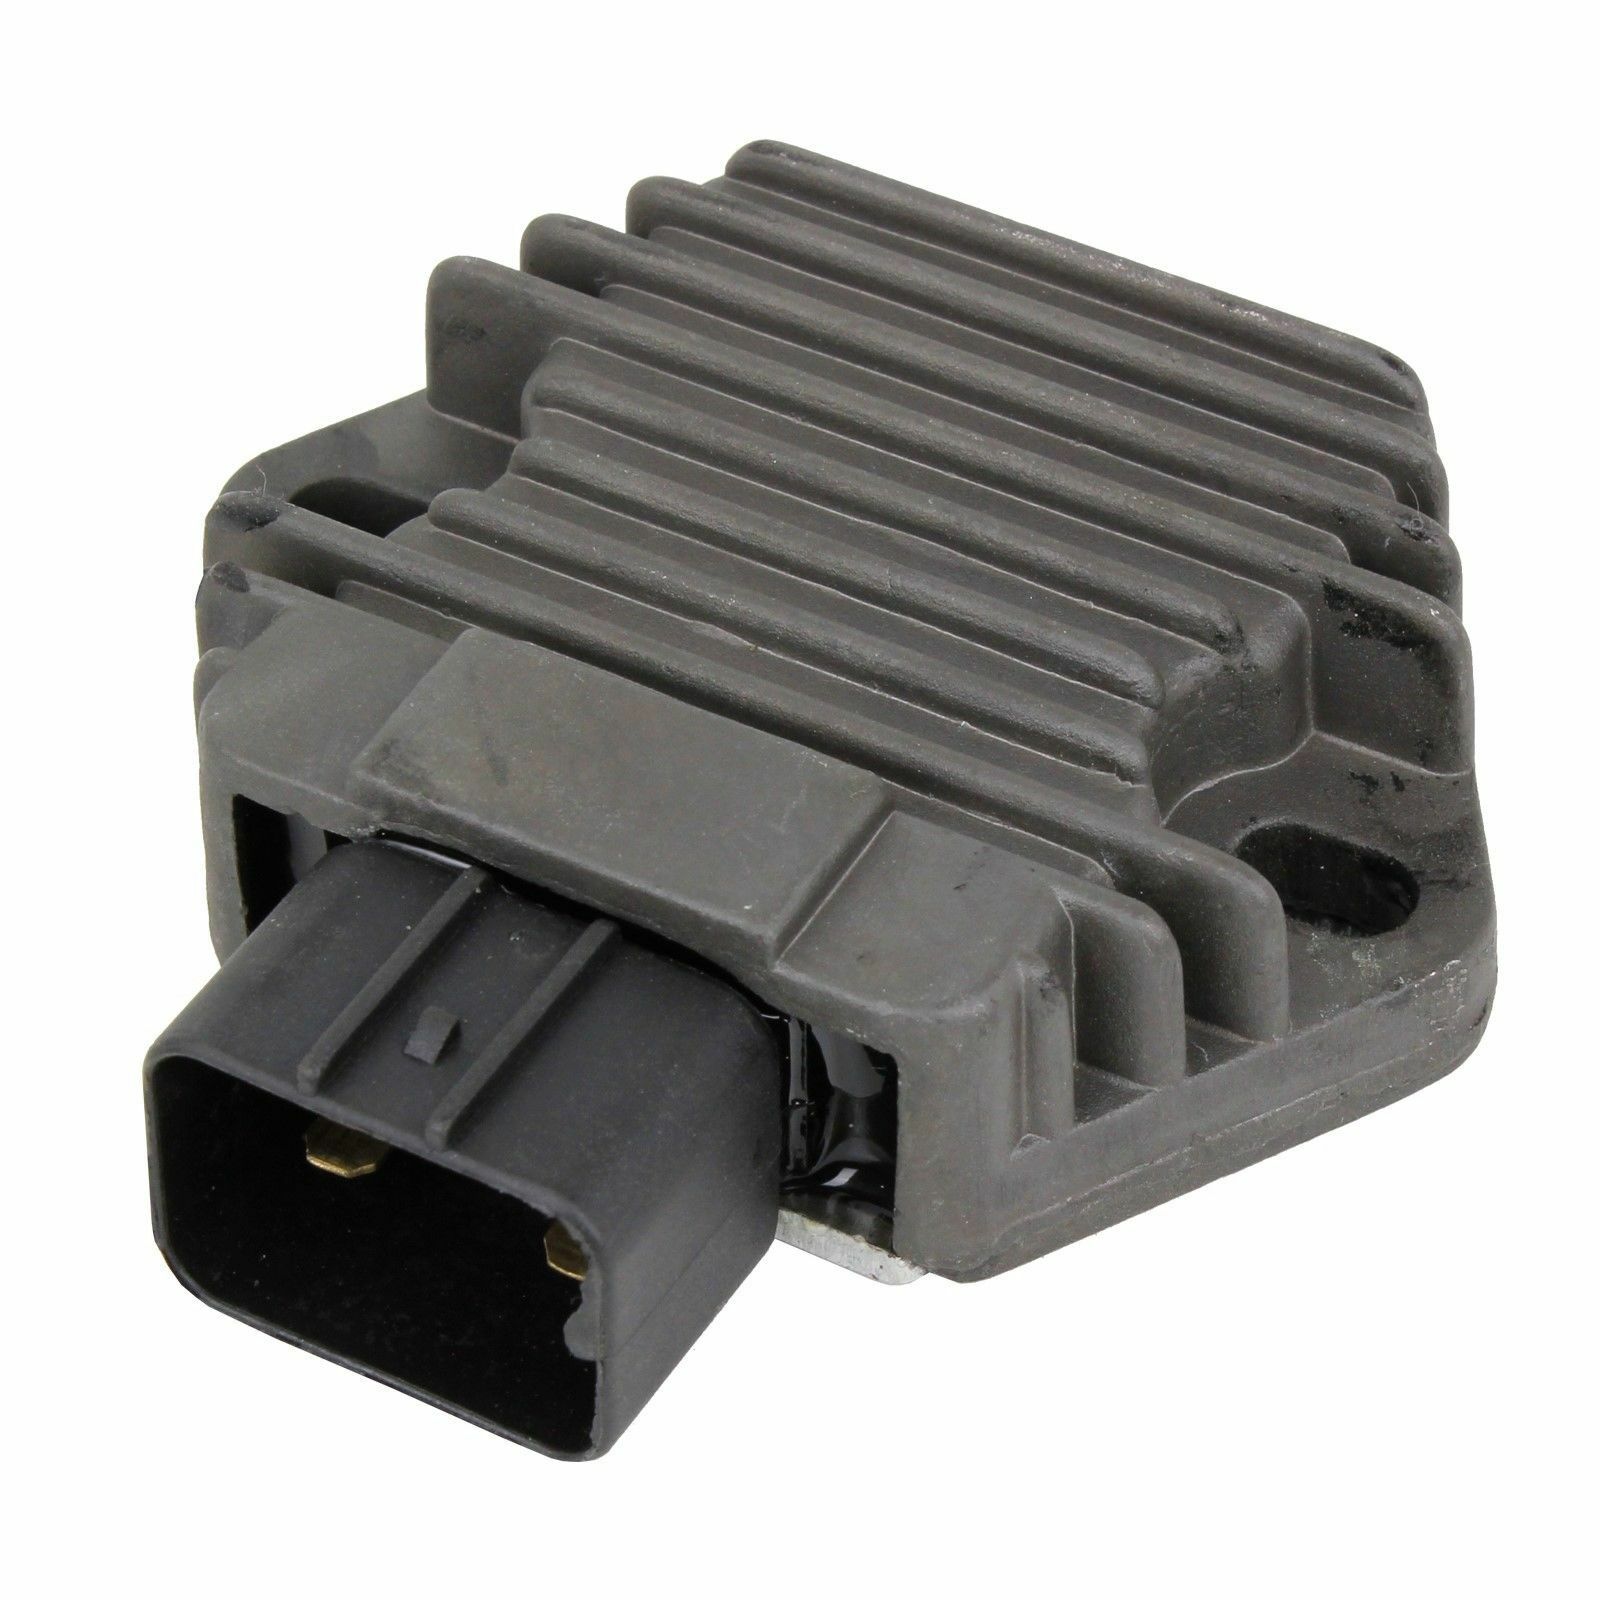
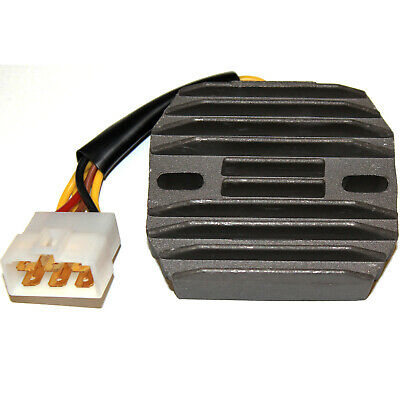
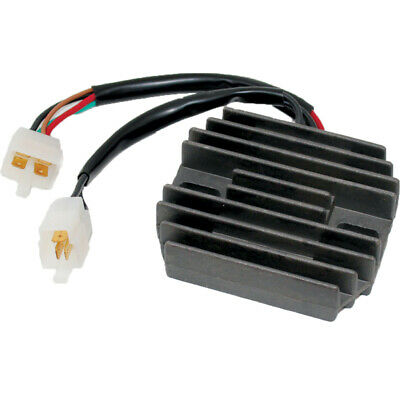
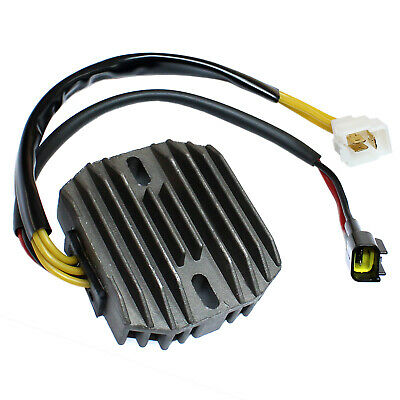
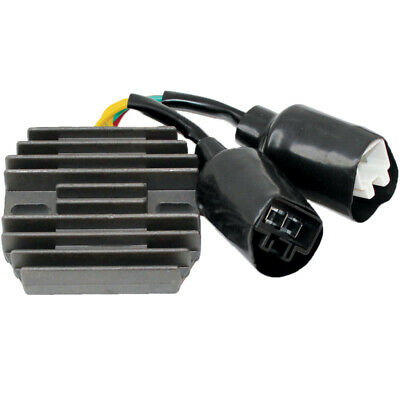
HONDA SOHC CB500 CB550 CB750 CB400F CB Adjustable Regulator Oregon MC Parts VR3H
$ 30.09
- Description
- Size Guide
Description
High Quality, USA MADEby Oregon Motorcycle Parts
http://www.oregonmotorcycleparts.com/
PLUG AND PLAY
HONDA REGULATOR (no rectifier)
I sell separate recitifier units.
for SOHC CB550 CB750 CB500 etc.
Adjustable Voltage regulator for
1969~1978 500 to 750cc SOHC
in-line four cylinder Hondas.
Adjustable from 14.2 volts from 1500 RPM to
red line. You can adjust the for a max output of 14.7v.
90 day warranty !
Any problems, and i will send you another one!
Brand new, Solid State regulator unit.
It is time to upgrade to SOLID STATE!!!!
We've come a long way in 45 years!
join us in the new millenium!
Fits all CB750 69-78 and CB500/CB550 71-78
14.2 - 14.7 DC voltage output
3 wire separate, color coded terminals, plugs into the wiring harness
right where the stock one did.
Or, use your own connector block or wire in for custom applications.
Notes:
The ignition switch itself is the number one problem in the 77-78 models...
also melted connectors and oxidized connector terminals throughout the bike.
You gotta clean/or replace EVERY CONNECTOR!
I replace the ignition switch and fuse box, along with the reg/rec and
repair all connections on every SOHC i get, both early models, and especially later '77-78.
The later 77-78 handlebar mounted ignition switches are THE WORST!
the plastic bottom part always comes loose, and you will have a bad connection!
-------------------------------------------------------------------------------------------------------------
Charging system diagnostics for 1969 ~1978 Honda SOHC Fours:
Before you can suspect any charging system component of failing you first should check all the easy stuff. First make sure all the cells in the battery have
electrolyte up to the full line. Use a hydrometer (a fancy name for a tube with floating balls in it) and check all the cells after the battery has been charged.
You can get a hydrometer for only a few dollars at most bike shops. The ones made for cars are way to big to use on 99% of bike batteries. Once you are
sure you have a good battery...
Next check all the connectors. The battery cables and all the other wiring connections should all be clean and tight. A weak or dirty connection can cause poor
charging system output. A melted plug is also a sign of a loose or dirty connector. The heat comes from the resistance of completing the circuit through oxide
(or oil and dirt) on the surface of the terminals. If you use spray cleaner to flush out any plugs check for signs that the plug is being damaged from the
solvent and discontinue using it if there is. Also use an air nozzle (or caned air) to blow out the connectors after cleaning them. Some of the spray lubes like
WD-40 are good for cleaning out connectors but I do not endorse them as lubricants. Again check to make sure the spray lube is not damaging the plastic
plugs or insulators.
Bikes with mechanical voltage regulators may also need to have the points in the regulator cleaned or better yet replace it with an all electronic voltage
regulator.
An analog meter is preferred but digital meter is OK for these tests but you'll have to take into consideration the static resistance in the meter.
This article assumes that you have basic proficiency with an electrical multi-meter.
Start by removing the left side cover and unplug the 8 or (9 pin on some models) plug from the alternator windings to the wiring harness. Set the
meter to the lowest resistance setting, Rx1 on an analog meter or 0 to 200 ohm scale (sometimes only labeled 200) on a digital meter. On the
engine side test the resistance between the yellow wires in all combinations. You should get .5 to 1.2 ohms resistance here. Next check from the
yellow wire to ground and you should get infinite resistance (or the same resistance as air.)
Next check the resistance from the white to the green wire. The spec here is 4 to 6 ohms but I've found that a little out either way is OK but more
than 1 ohm out is usually bad. Next test either the white or green wire to ground and you should get infinite resistance. The green wire plugs into
a ground connection but when it's not connected to the harness it shouldn't be grounded when unplugged.
If all this checks out, move to the wiring harness side of the plug and Test the green wire to ground. You should get no detectable resistance here
or in other words: the same resistance as when touching the meter probes together. If this is all good, plug the 8 (or 9 pin on some bikes) plug
back together.
Now set the meter to DC volts and unplug the voltage regulator. Turn on the main ignition switch but set the handlebar switch to off. Check the
voltage from positive to negative across the battery then check the voltage from the black wire that would have plugged in to the voltage
regulator to ground. If there is less at the black wire than at the battery, you have a wiring problem. This can be tested by making up a fused
jumper wire to run from the positive side of the battery to the black wire on the regulator. Then run the bike and check the voltage output.
Assuming the power to the regulator OK: plug everything back together; turn on the main switch and the handlebar switch off. Either hand a
paper clip from string or use a .002 feeler gage blade and lay it up against the end of the alternator case (where the screws are that hold the field
coil are) then pull it away. The magnetism of field coil should bend the gage or hold the paper clip when you try pull it away. This test proves that
at least the regulator is working a little.
Now
test the rectifier
:
Start with one lead of the meter (or test light) to the positive lead on the rectifier. Touch the other test lead one at a time to each of the AC
terminals of the rectifier. At this point you will either have continuity or not but it should be the same with all the AC terminals on the rectifier.
Swap the test leads (still working with the positive terminal of the rectifier) and repeat the test. This test should have the opposite result as the
previous test. Again the result should be the same for each of the AC leads. Move on to the negative lead off the rectifier and repeat the 2
previous tests. This is test is easier with a test light than with an electrical meter. The point is to check that power flows one way but not the other
and the exact numbers isn't as important. If your meter has a buzzer for continuity, this works very well too. If the rectifier fails all tests with a
digital meter, it may not be the rectifier but that you're using the meter on the wrong scale. Set the meter to the diode test function and test it
again. If your meter doesn't have this, it's time for a new meter. This will catch a bad rectifier 95% of the time. The rest of the time they only fail
under load and will usually get pretty hot.
Set the meter back to the lowest resistance setting and test the resistance from the white wire to ground. You should get the same reading here
as before when you did the test from white to green at the plug. Any discrepancy here is a wiring problem. Unplug the rectifier and check the
resistance between the yellow wire and once again you should get the same resistance as at the alternator plug.
If this is all OK then remove the ground wire from the battery then test the resistance between the red wire where the rectifier plugs into the
positive battery cable. Then test from the red wire to the rectifier to the red wire at the ignition switch. There should be no detectable losses here.
Since the ignition switch is unplugged, test the resistance from red to black wires in the on position. Any detectable resistance here is bad.
If you resolve all this and you bike still doesn't charge correctly, there is one more thing to do to prove the problem is in the voltage regulator.
Start by running the bike until it is warmed up enough to idle properly. Use a fused jumper wire and jump power from the positive side of the
battery directly to the white wire that plugs into the regulator. This will give the bike full charging all the time so do not run the engine over 1500
RPM or you risk boiling the battery and blowing bulbs. With the engine running test the voltage output at the rectifier to ground with the engine
running at idle and 1200 RPM. If you get good charging, you need a new voltage regulator.
-------------------------------------------------
actual ebay feedback
:
HAPPY BUYER! Great Service,
Fast Delivery! Back on the road again!
Buyer:
Member id
oldned2012
HONDA SOHC CB500 CB550 CB750 CB Regulator CycleSmith REG
Nice part, Prompt shipment,
Good communication
Buyer:
Member id
rimrider59
HONDA SOHC CB500 CB550 CB750 CB
Great seller,
fast shipment, thanks!
Buyer:
Member id
aermotorstudio
HONDA SOHC CB500 CB550 CB750 CB400F CB Regulator
Fast shipping, good eBay'er,
good communication, easy to deal with A+++
HONDA SOHC CB500 CB550 CB750 CB Regulator
Contacted them with a question and got a helpful response immediately.
Buyer:
Member id
comb_peyt
HONDA SOHC CB500 CB550 CB750 Regulator
As described , great communication A+++++
Buyer:
Member id
kinghunterron
HONDA CB500 CB550 CB750 Regulator CB 500 550 750
goodness!!!!!!
Buyer:
Member id
sccaspecracer
HONDA CB500 CB550 CB750 Regulator CB 500 550 750
Fast Shipping! Perfect!
Buyer:
Member id
bnmzx9r
HONDA CB500 CB550 CB750 Regulator CB 500 550 750
Great part!
Buyer:
Member id
ktmoore77
HONDA CB500 CB550 CB750 Regulator CB 500 550 750
Fast shipping to Alaska !
Easy to contact and very friendly !!
Buyer:
Member id
trubey89
HONDA CB500 CB550 CB750 Regulator CB 500 550 750
((((((((((((((((((((((((((((((((((( A+ EBAYER ))))))))))))))
Buyer:
Member id
mcdabq
HONDA REG CB750 CB550 CB 550 500 450 400 350 200
really fast shipping!!
Buyer:
Member id
zowiee52
HONDA CB500 CB550 CB750 Regulator CB 500 550 750
Contact me with any problems.
Please contact me before leaving neutral or negative feedback!
I have a 100% feedback rating !
as always, ask questions first before buying!
